> ## Documentation Index
> Fetch the complete documentation index at: https://koreai-ai-for-service-dev.mintlify.site/llms.txt
> Use this file to discover all available pages before exploring further.
# Configuring the Freshdesk Action
[Back to Actions Integrations](/ai-for-service/integrations/overview#actions)
Connect the Platform to Freshdesk to create, view, update, search, and delete tickets. See [Freshdesk documentation](https://www.freshworks.com/freshdesk/resources/) for details.
***
## Supported Authorization Types
The platform supports Basic Auth for Freshdesk integration. See [App Authorization Overview](/ai-for-service/app-settings#authorization-profiles) for details.
| Authorization Type | Supported |
| ---------------------------------------- | --------- |
| Pre-Authorize the Integration | Yes |
| Allow Users to Authorize the Integration | Yes |
***
## Prerequisites
Before enabling the Freshdesk action:
* Create a [Freshdesk](https://www.freshworks.com/freshdesk/resources/) developer account.
* Copy the **API Key** and **Domain name** of your Freshdesk account.
***
## Step 1: Enable the Freshdesk Action
Go to **App Settings > Integrations > Actions** and select **Freshdesk**.
### Pre-authorize the Integration (Basic Auth)
1. Select **Freshdesk** in the **Available Actions** region.
2. In the **Configurations** dialog, select the **Authorization** tab.
3. Set **Authorization Type** to **Pre-authorize the Integration** > **Basic Auth**.
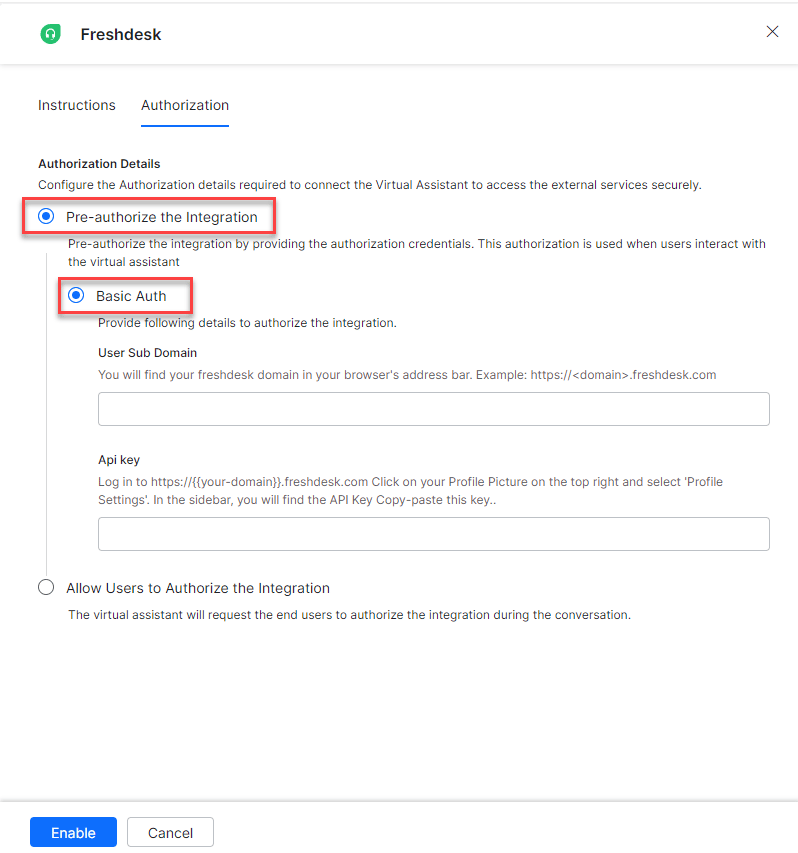 4. Enter the following fields:
| Field | Description |
| --------------- | ---------------------------------------- |
| User Sub Domain | Domain name of the Freshdesk account |
| API Key | Secret API key of your Freshdesk account |
5. Click **Enable**. The Integration Successful pop-up appears on first configuration.
4. Enter the following fields:
| Field | Description |
| --------------- | ---------------------------------------- |
| User Sub Domain | Domain name of the Freshdesk account |
| API Key | Secret API key of your Freshdesk account |
5. Click **Enable**. The Integration Successful pop-up appears on first configuration.
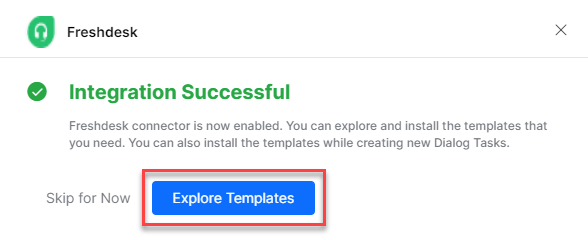 The Freshdesk action moves from Available to Configured.
### Allow End Users to Authorize (Basic Auth)
1. In the **Configurations** dialog, select the **Authorization** tab.
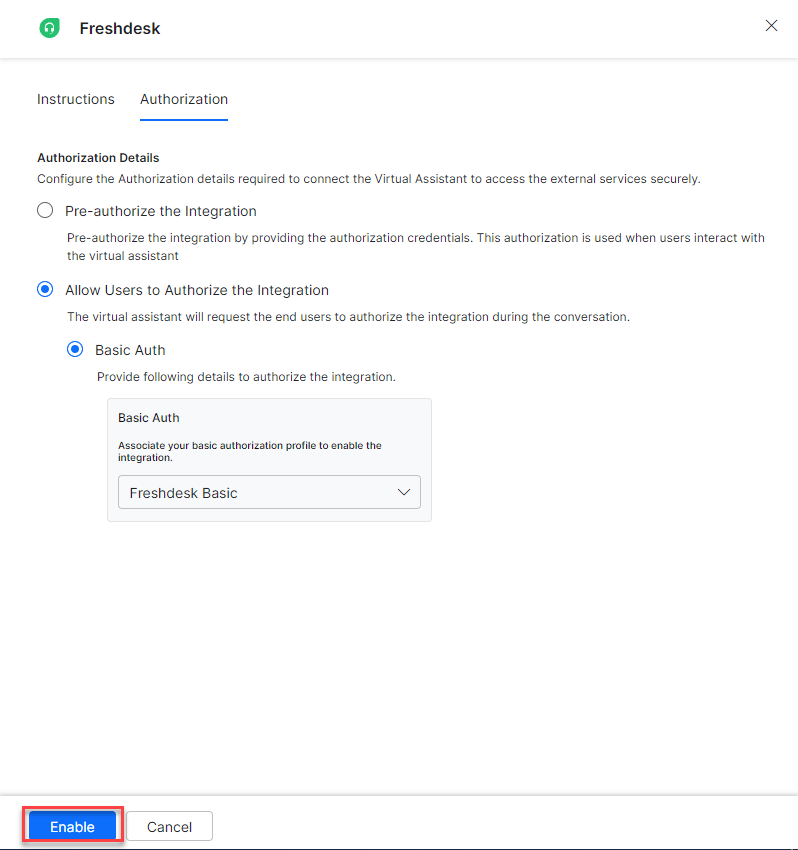
2. Set **Authorization Type** to **Allow Users to Authorize the Integration** > **Basic Auth**.
3. Click **Select Authorization** > **Create New**.
The Freshdesk action moves from Available to Configured.
### Allow End Users to Authorize (Basic Auth)
1. In the **Configurations** dialog, select the **Authorization** tab.
2. Set **Authorization Type** to **Allow Users to Authorize the Integration** > **Basic Auth**.
3. Click **Select Authorization** > **Create New**.
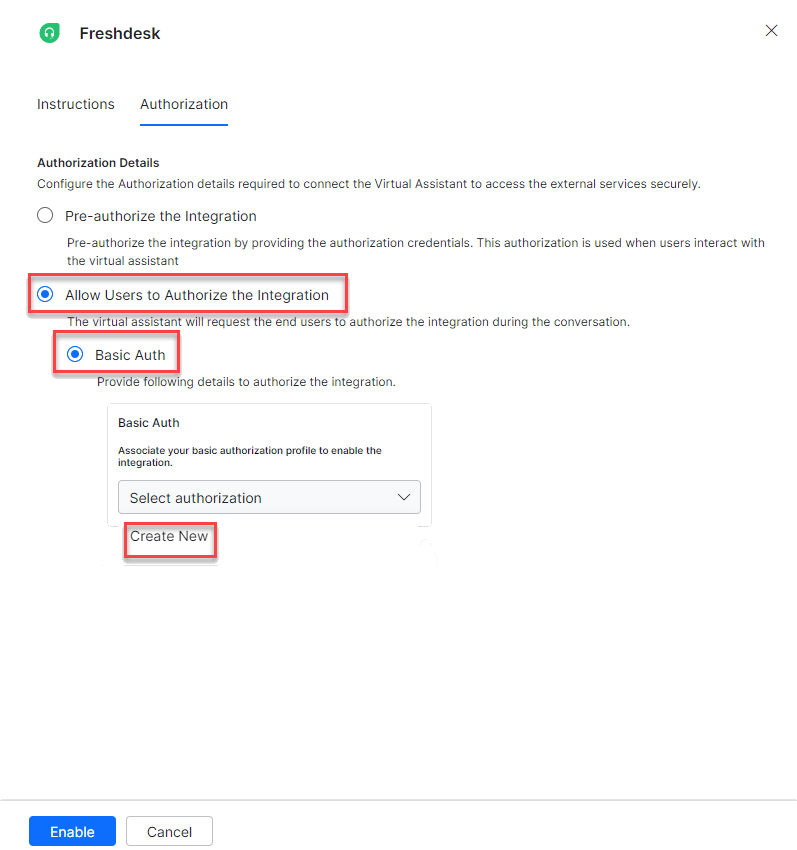 4. Select the authorization mechanism (for example, **Basic Auth**). See [App Authorization Overview](/ai-for-service/app-settings#authorization-profiles).
5. Enter the following credentials:
| Field | Description |
| ----------------------- | ------------------------------------------ |
| Name | Name for the Basic Auth profile |
| Tenancy URLs | Select No |
| Base URL | Base tenant URL for the Freshdesk instance |
| Authorization Check URL | Auth check URL |
| Description | Description of the auth profile |
4. Select the authorization mechanism (for example, **Basic Auth**). See [App Authorization Overview](/ai-for-service/app-settings#authorization-profiles).
5. Enter the following credentials:
| Field | Description |
| ----------------------- | ------------------------------------------ |
| Name | Name for the Basic Auth profile |
| Tenancy URLs | Select No |
| Base URL | Base tenant URL for the Freshdesk instance |
| Authorization Check URL | Auth check URL |
| Description | Description of the auth profile |
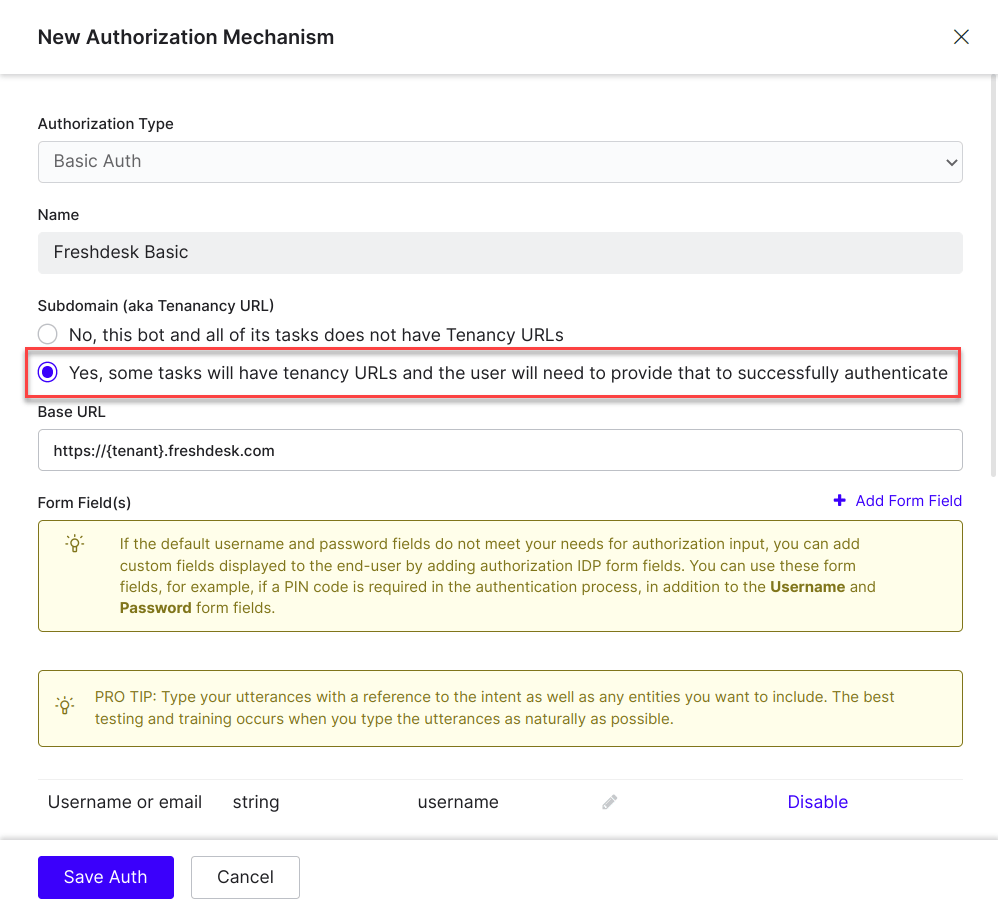 6. Click **Save Auth**.
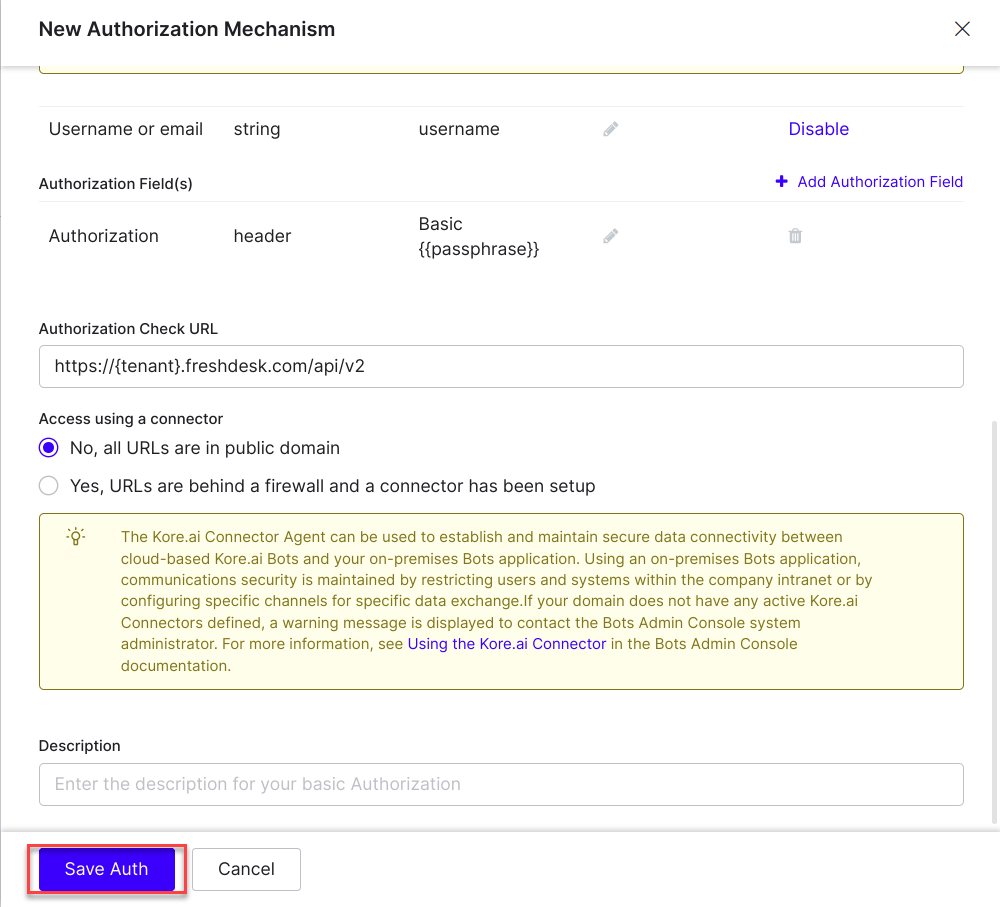 7. Select the new profile.
8. Click **Enable**. The Integration Successful pop-up appears.
7. Select the new profile.
8. Click **Enable**. The Integration Successful pop-up appears.
 ***
## Step 2: Install Freshdesk Action Templates
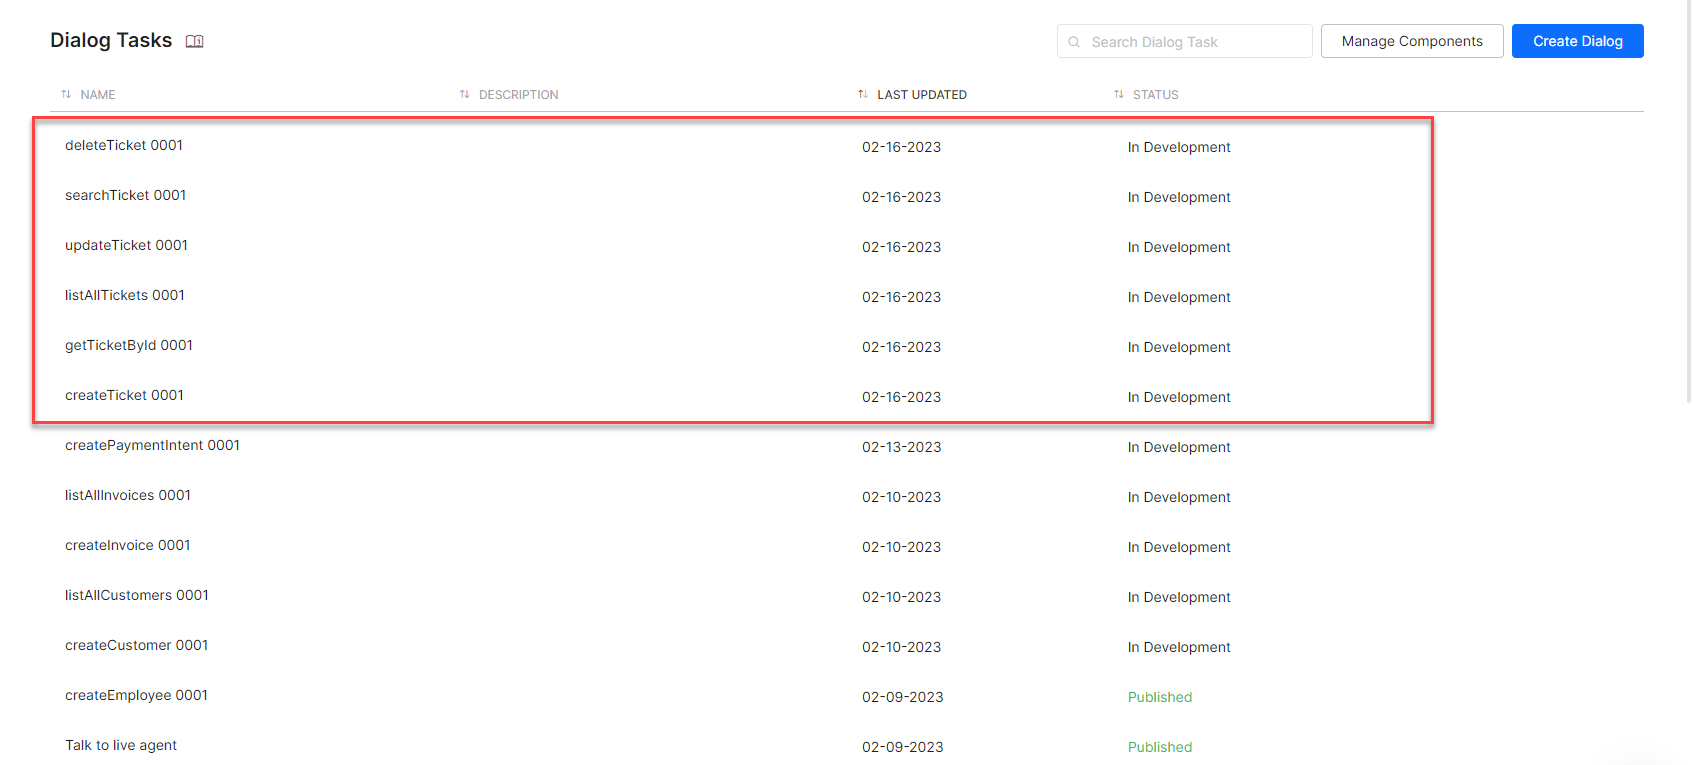
1. On the Integration Successful dialog, click **Explore Templates**.
***
## Step 2: Install Freshdesk Action Templates
1. On the Integration Successful dialog, click **Explore Templates**.
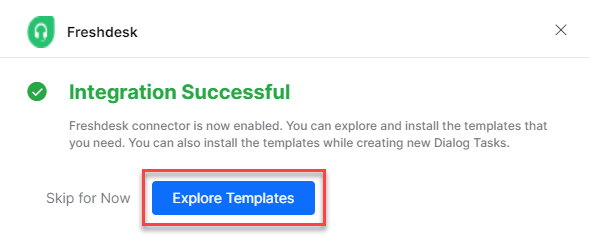 2. Click **Install** for the desired template.
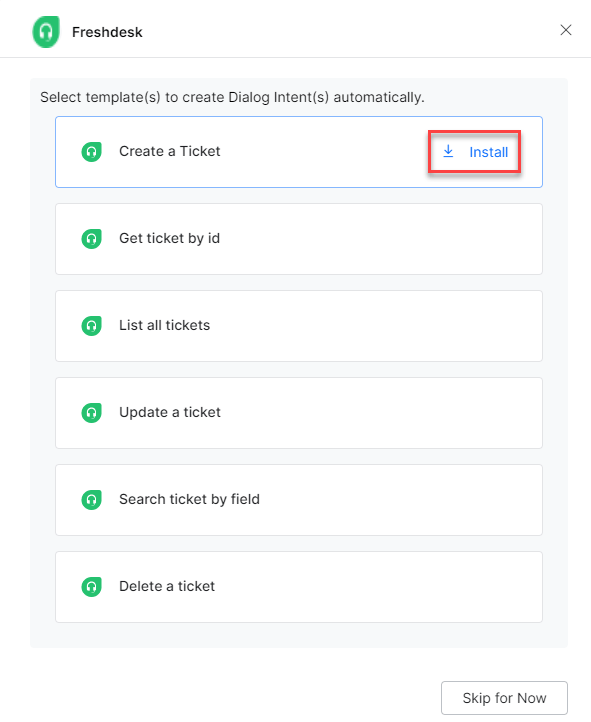 3. Click **Go to Dialog** to view the dialog task.
4. A dialog task is auto-created for each installed template.
5. Select the desired dialog task and click **Proceed** (for example, **Create a Ticket**).
3. Click **Go to Dialog** to view the dialog task.
4. A dialog task is auto-created for each installed template.
5. Select the desired dialog task and click **Proceed** (for example, **Create a Ticket**).
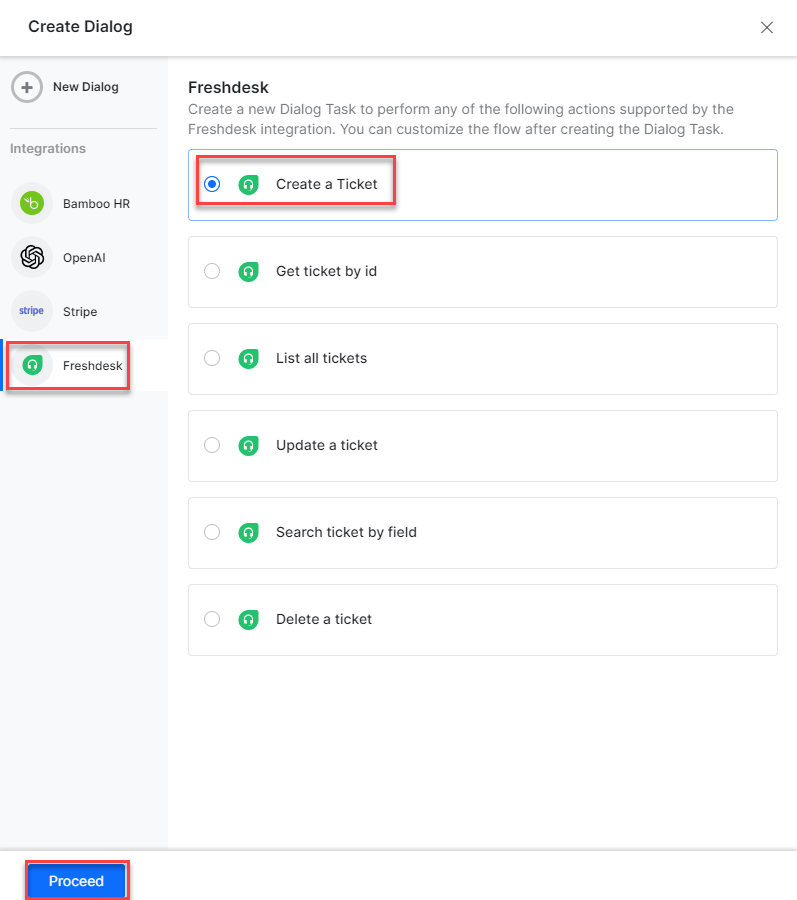 6. The canvas opens with all required entity nodes, service nodes, and message scripts.